
Skip to content
in cooperation withCIC Berlin

02 / PRINT & SURFACE

From photographic prints to printed objects: paper, surface and finishing determine the right process.

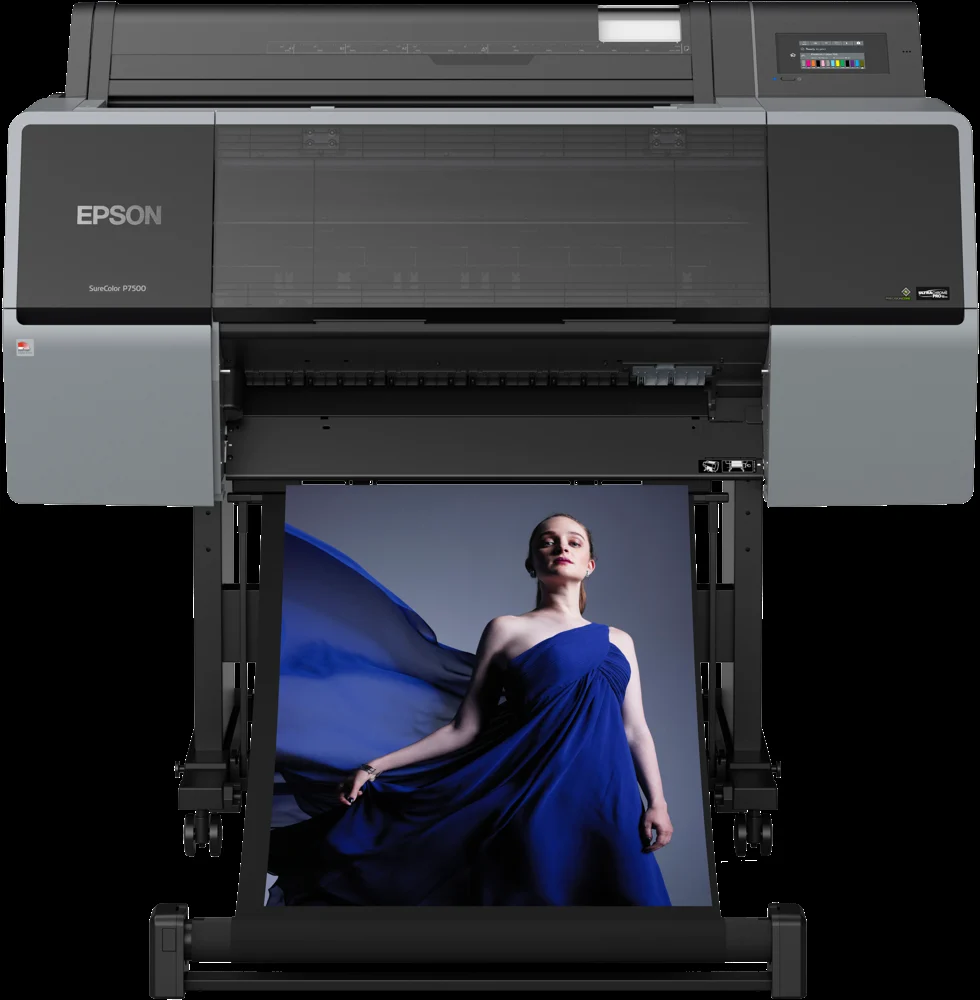
Epson SureColor SC-P7500
PRODUCT VIEW · MAKR-0017ENLARGE ↗

01 / MAKR-0017

Epson SureColor SC-P7500

A1 / 24″ · 12 pigment inks

Being set up · use after approval by the Maker team.

Equipment & project paths 2

Photography, design and presentation on quality paper. Matching paper and profile makes colour and detail reproducible.

Photographic printsExhibition printsPresentation posters

Equipment at the Lab

One SC-P7500 with UltraChrome Pro12.

Prepare for your project

Suitable roll or sheet paper, matching ICC profile and a file at final size. Select paper and profile with the team.

PROJECT PATH 01

A photograph for an exhibition

  1. Crop to final size, check resolution and select paper.
  2. Make a soft proof with the correct ICC profile and print a small test strip.
  3. Assess colour under the intended lighting, print the final image and let it dry.

Your resultA photographic print with deliberately chosen paper and checked colour.

Colour mismatch? Check the profile and avoid double colour correction.

PROJECT PATH 02

A readable A1 poster

  1. Design at final size with clear hierarchy, large labels and embedded fonts.
  2. Print the critical graphic and smallest text at 100% scale.
  3. Check legibility at the intended viewing distance, then print the full poster.

Your resultA poster that works at its actual viewing distance.

Replace pixelated graphics before the full-size print.

A1 / 24 inches is the device class. Printable width and borderless options depend on paper and mode.
xTool O1 Omni Printer
PRODUCT VIEW · MAKR-0018ENLARGE ↗

02 / MAKR-0018

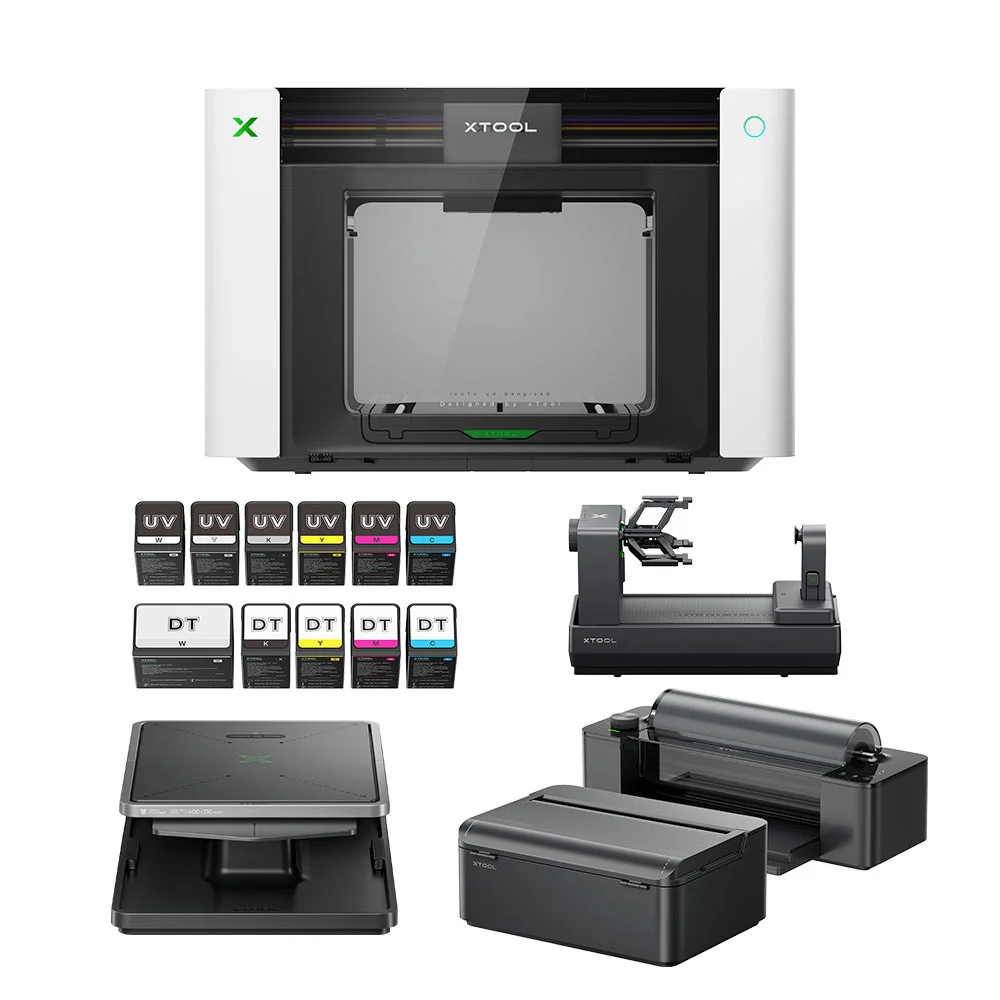
xTool O1 Omni Printer

UV + DT · Versatile Bundle

Planned · not delivered yet.

Equipment & project paths 4

Four printing paths for objects, transfers and textiles. Choose the surface and application first, then the process.

UV direct printingUV-DTF transferDTG & textile DTF

Planned package

Planned: O1 UV + DT, fabric tray, LM1 laminator, RF1 roll feeder and OR1 rotary module.

Prepare for your project

Process-specific inks, films, blanks and finishing. Textile DTF additionally needs suitable powder and a heat press; these are not automatically part of the bundle.

PROJECT PATH 01

UV directly onto an object

  1. Select a flat blank with a suitable surface.
  2. Plan position and white underbase; test adhesion on a sample.
  3. After commissioning, print and check abrasion and legibility on the sample.

Your resultAn individually printed object.

Check adhesion and suitability for the intended use separately.

PROJECT PATH 02

UV-DTF onto a rigid surface

  1. Prepare artwork for transfer film, allowing for minimum feature sizes.
  2. Print UV-DTF film and laminate using the matching film system.
  3. Apply the transfer to a clean blank and test adhesion.

Your resultDecoration for suitable rigid surfaces.

UV-DTF is not a textile heat-press transfer.

PROJECT PATH 03

DTG directly onto fabric

  1. Choose suitable fabric and determine the required pretreatment.
  2. Position the fabric on the tray and print directly.
  3. Fix the ink according to process instructions and wash-test a sample.

Your resultA directly printed textile sample.

Fixing and care instructions are part of the finished textile.

PROJECT PATH 04

DTF transfer for textiles

  1. Choose artwork, compatible DTF film and ink.
  2. Print the film and arrange the appropriate hot-melt adhesive application and curing.
  3. Transfer with a suitable heat press; wash- and stretch-test the sample.

Your resultA tested transfer for the selected fabric.

Do not begin textile DTF without a suitable powder and pressing process.

Not delivered yet. These project paths support planning; use and booking are not currently available.

Cookie Consent Banner by Real Cookie Banner