A functional part
Fast fit checks, enclosures and mounts.
3D printing → in cooperation with
Build a part, engrave a surface, print a photograph or personalise textiles. Find the right process, understand the preparation and plan your next step.
Capabilities help you choose a process. Actual availability and your permission are shown in My Maker Lab. New equipment is inventoried; commissioning is still pending. The O1 bundle is planned and has not been delivered.
Choose the result you want. We confirm material, file and machine before you start.
Fast fit checks, enclosures and mounts.
3D printing →Compare tool changing, dual nozzles and support strategies.
Compare printers →A1, fine art and photographic paper.
Photo printing →Direct UV print or a transfer for a hard surface.
UV printing · planned →DTG or DTF, including preparation and heat curing.
Textile printing · planned →Choose cutting, engraving or guided routing.
Laser & CNC →No single printer is the best choice for every part. Build volume, surface, material, support structures and quantity make the decision.
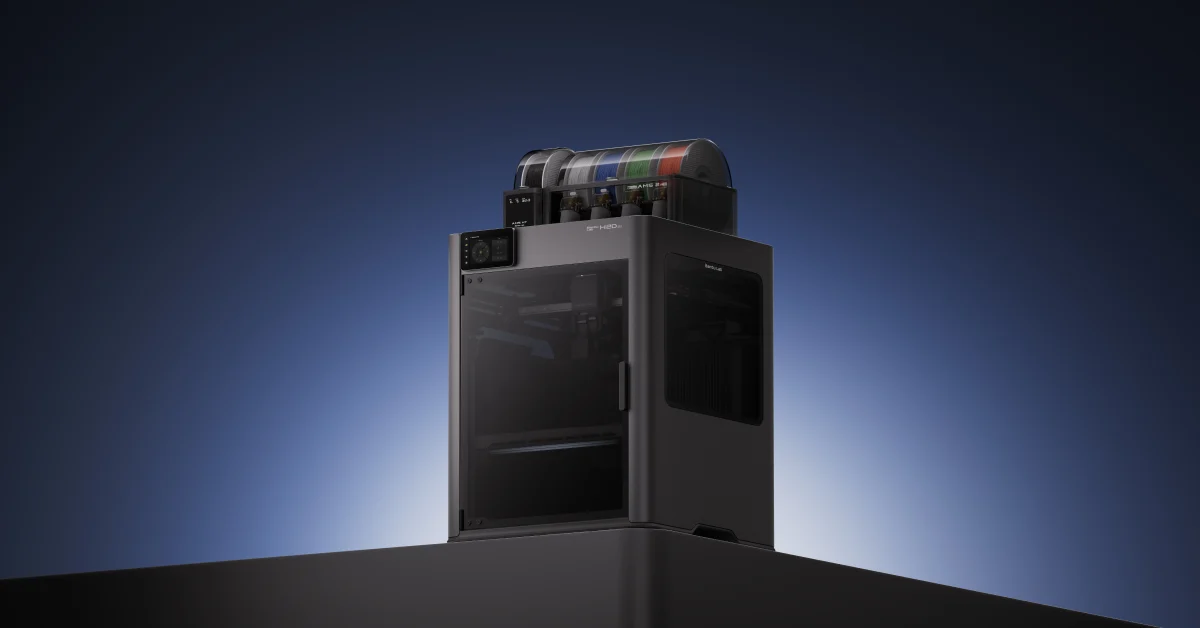
MAKR-0013
For engineering prototypes and material combinations. The dual-nozzle system separates model and support material. Confirm the installed nozzles, feeding system and approved filaments before choosing the job.
Inventoried · commissioning pending
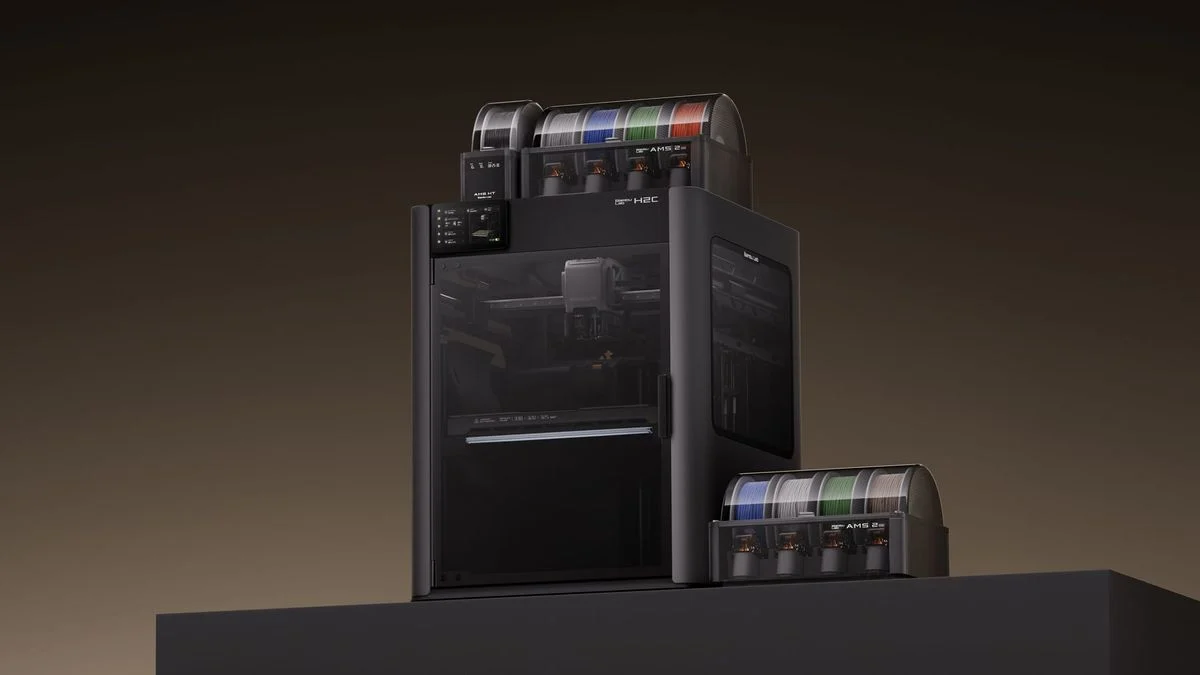
MAKR-0014
For multicolour models, material zones and support strategies. Vortek changes hotends automatically. The available combinations depend on the hotends and material feed actually installed in the lab.
Inventoried · commissioning pending
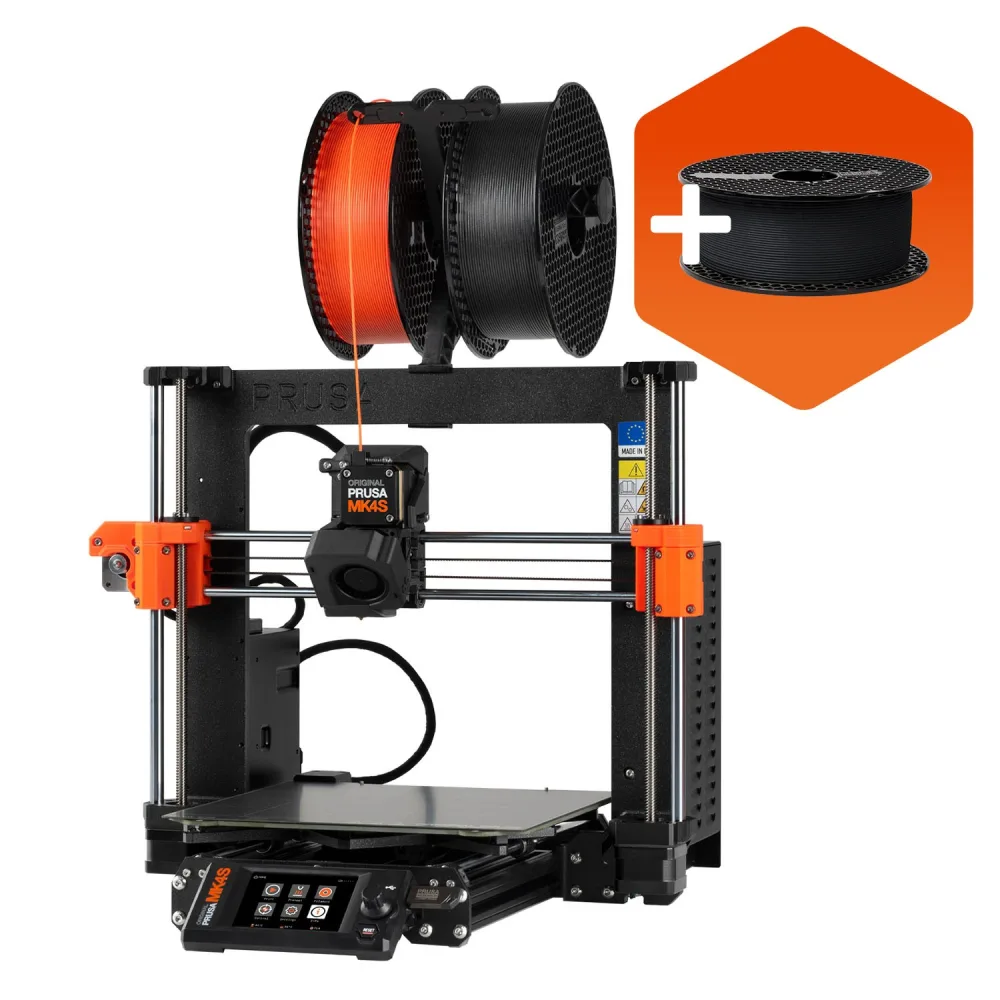
The dependable standard for enclosures, mounts, adapters and fast functional prototypes. Four machines allow parallel jobs and small production runs.
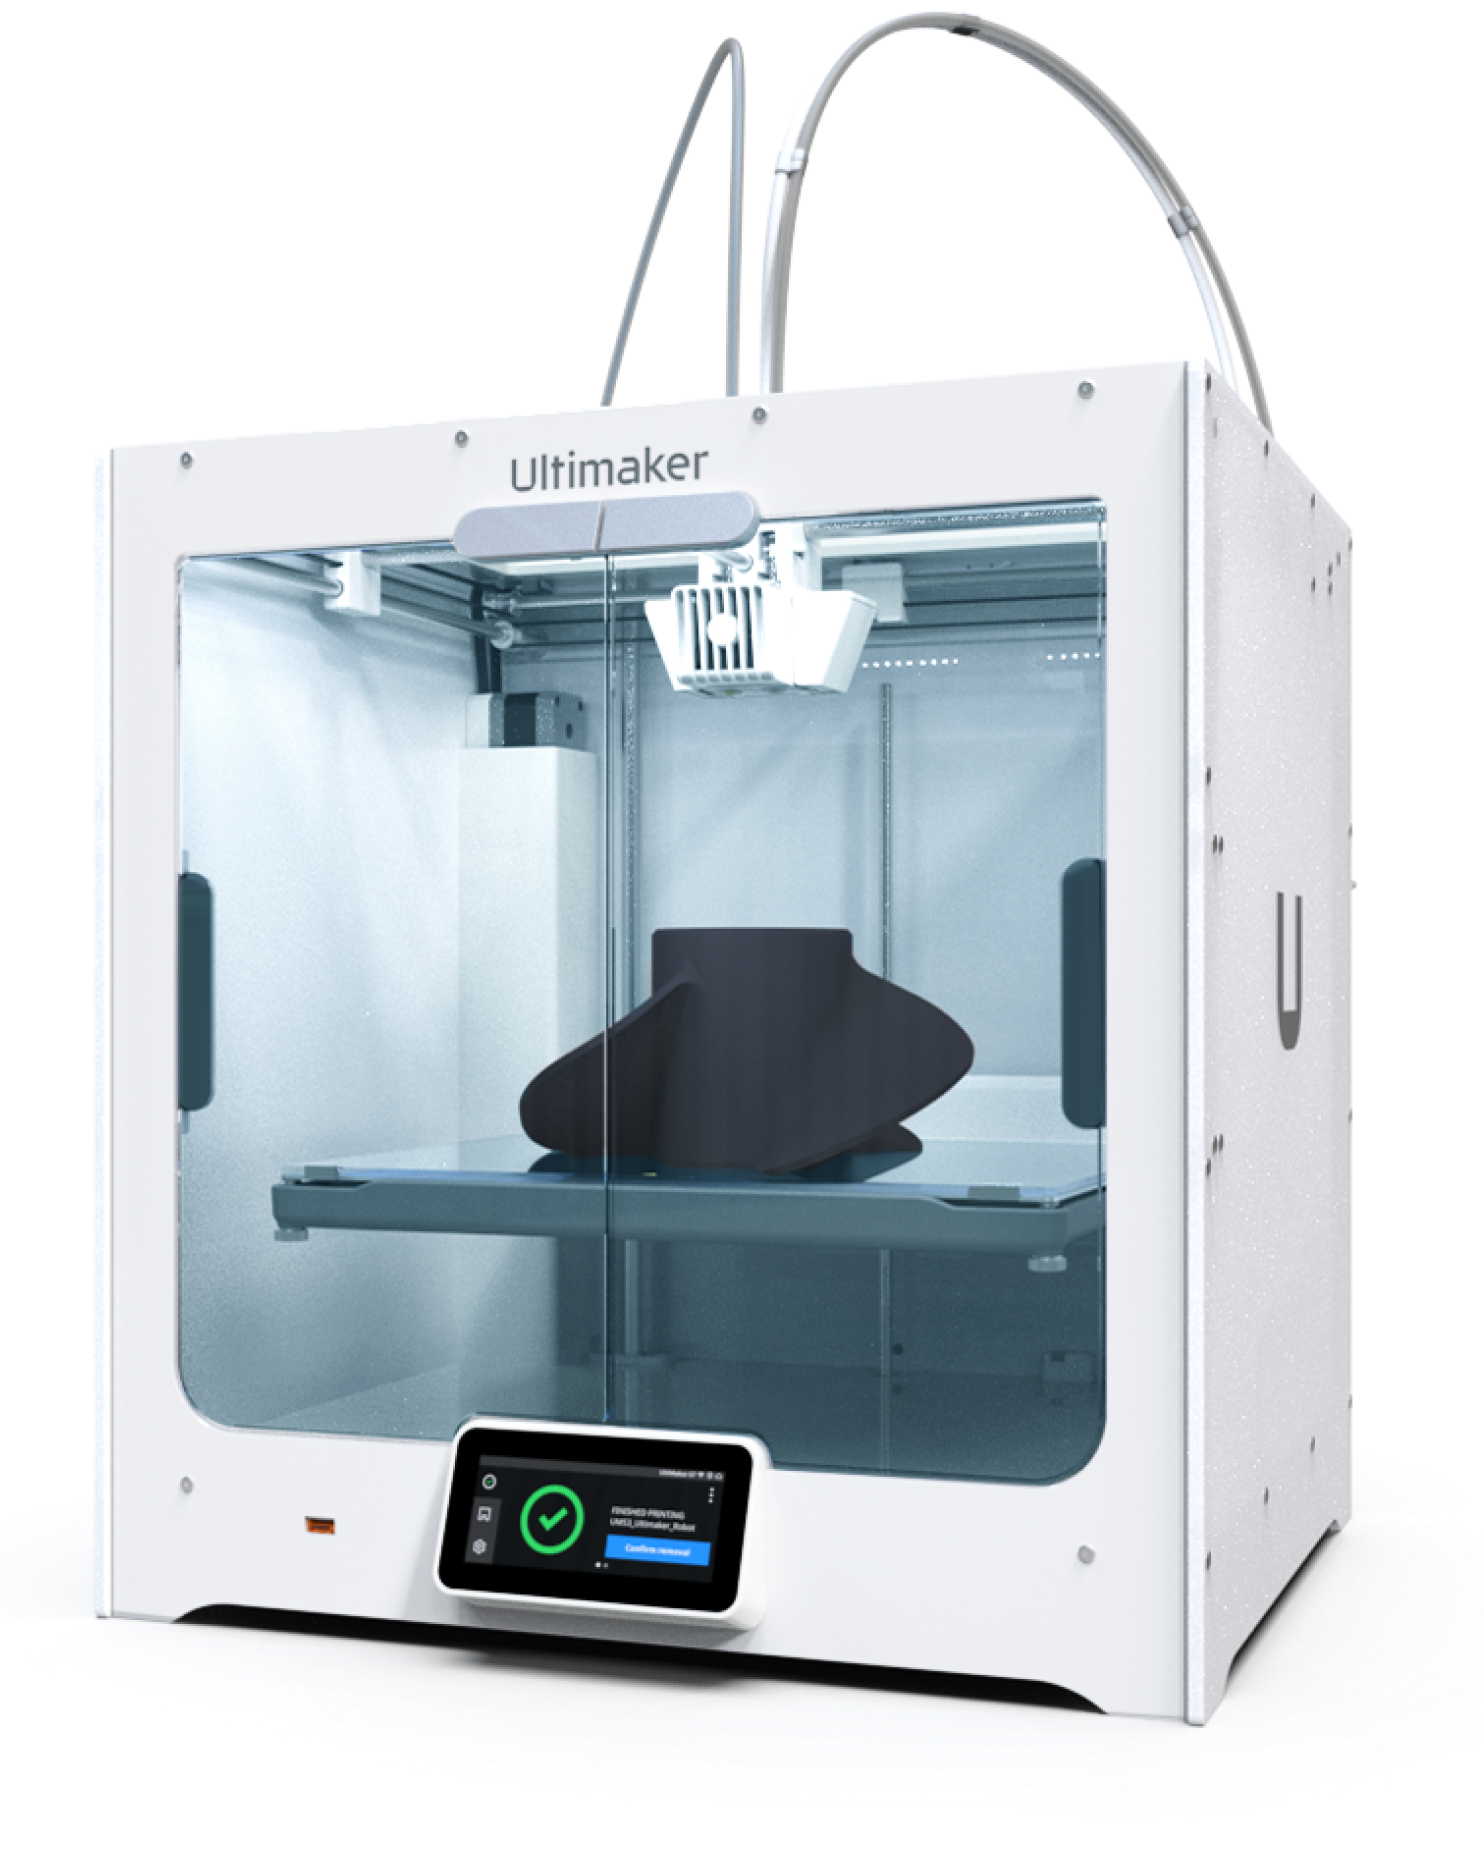
For complex geometries, two-colour parts and soluble support structures. Swappable Print Cores support different material combinations.
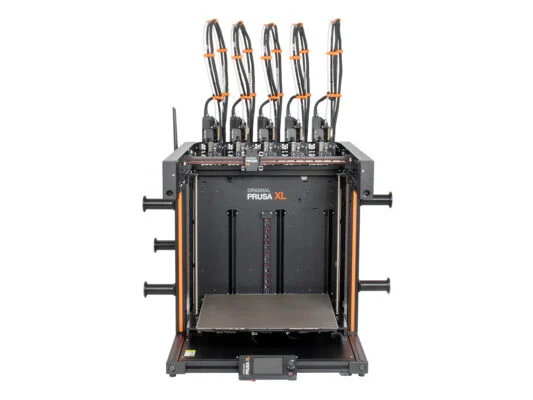
Five independently loaded Nextruders change automatically. This enables large multicolour and multi-material parts, flexible and rigid zones, and soluble support structures – without the long material changes of a single nozzle and with very little purge waste.

The enclosed chamber, heated up to 60 °C, stabilises engineering plastics. Suitable for durable parts that push open-frame printers beyond their limits.
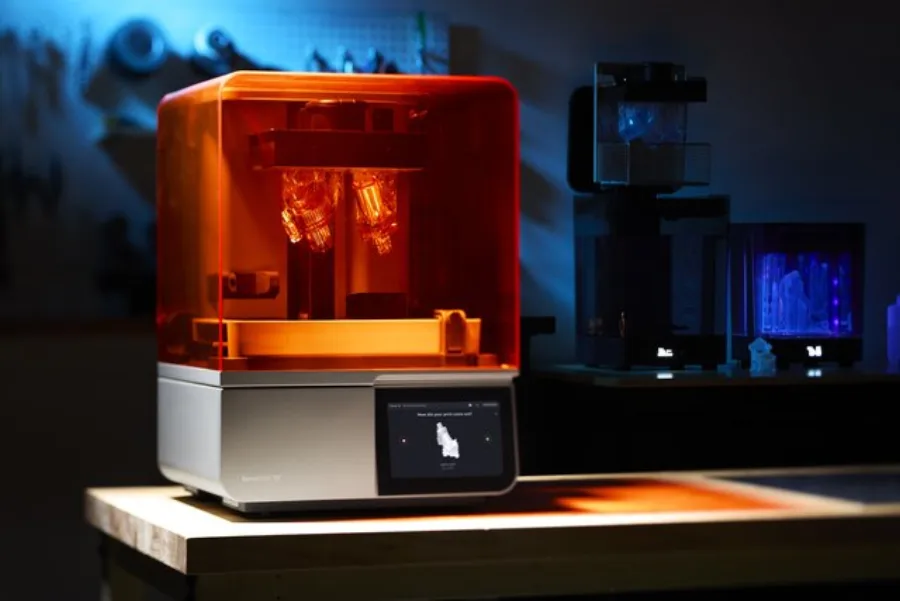
For intricate models, high-quality visible parts, fit checks and small functional components. Printing, washing and post-curing form one supervised process.
Bambu systems extend the catalogue; operational release is still pending.
The induction colour describes the access route, not the quality. Induction & Access and the usage agreement are binding.
Photography, rigid objects and textiles need different files, materials and finishing.
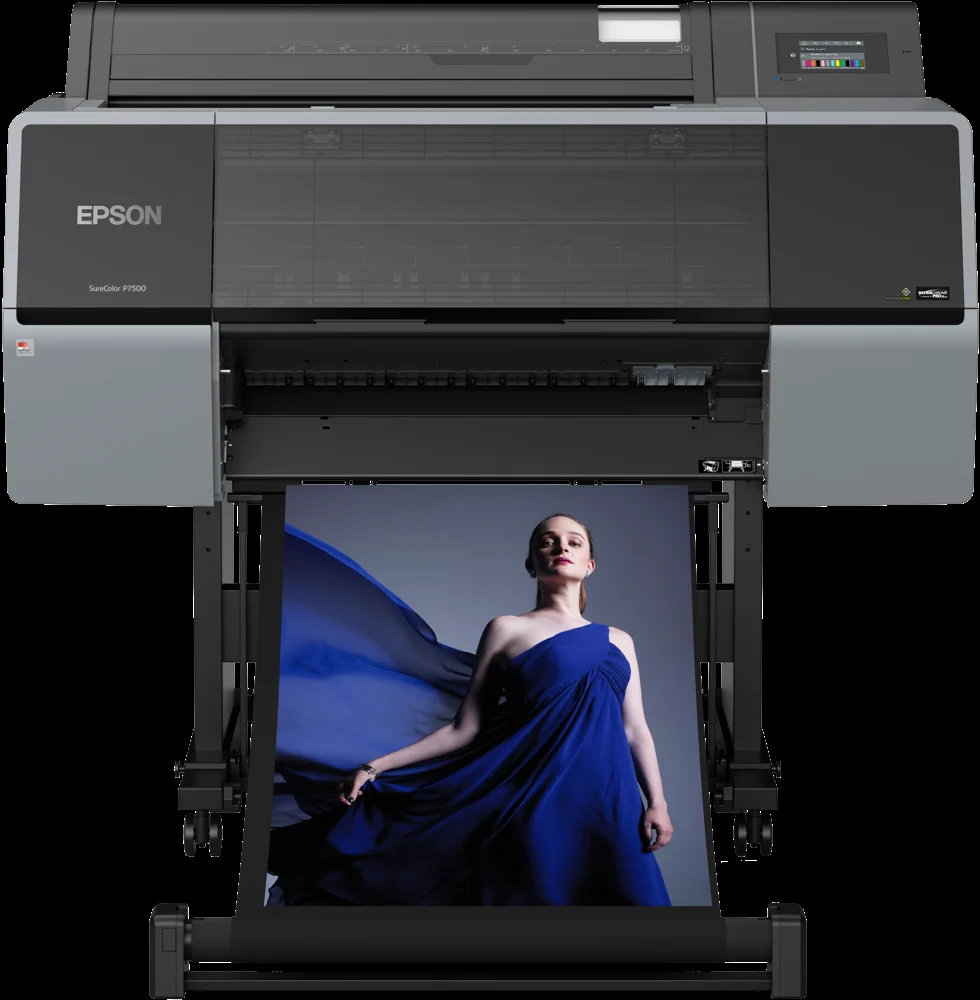
MAKR-0017 · one printer
Photographic printing · 12 inks · A1 / 24 inch
For photographs, fine art prints, exhibition posters and presentation graphics. UltraChrome Pro12 pigment inks and the right paper profile are the foundation for controlled colour and smooth tonal transitions.
Inventoried · paper profiles and commissioning pending
Bring: image file, final dimensions, quantity and intended display.
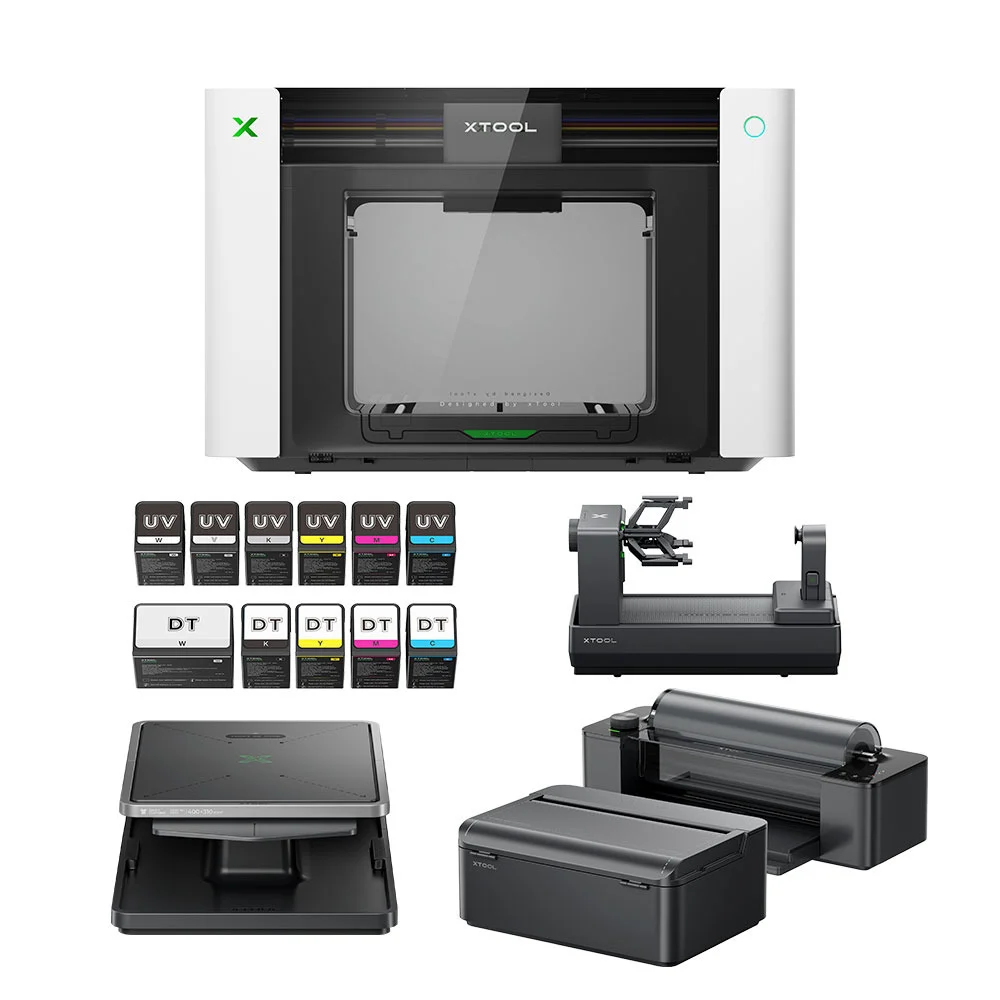
MAKR-0018 · UV+DT Versatile Bundle
UV object printing · UV-DTF · DTG · DTF
Planned for colourful objects, transfers onto hard surfaces and textile motifs. The selected UV+DT edition combines UV and fabric printing. The bundle has not been delivered. The workflows below describe the intended capabilities after delivery and commissioning.
Planned · not yet delivered · not currently available
Selected package: O1 UV+DT, fabric tray, LM1 laminator, RF1 roll feeder and OR1 rotary attachment.
Exact bundleFor signs, prototypes and personalisation on approved rigid surfaces.
An object transfer without a heat press; UV-DTF film is different from textile DTF film.
Confirm the available heat press or suitable curing equipment before commissioning.
A heat press is not listed in the selected Versatile Bundle.
The four workflows are planning guides for the O1 bundle, which has not been delivered. After delivery, the team confirms accessories, supplies, maintenance, approved procedures and supervised access.

80 W CO₂ laser for large surfaces, tall objects, long workpieces and rotary jobs.
Four cameras support positioning and batch jobs. The conveyor extends the working area for long sheets, the RA3 module processes cylindrical objects, and the AP2 Max air purifier is part of our complete package.
These modules are not items on a wish list. They are included in the bundle we own.
Consumable: One CO₂ cylinder is installed on the xTool P3. Fill level and spare stock are recorded separately.
Acrylic, plywood and card for enclosures, signage and exhibition structures.
Signs, series of strips and long sheets pass through the intelligent conveyor.
Cups, glasses and cylindrical objects can receive full-wrap engraving with RA3.
The camera system supports arranging many parts and repeatable jobs.
Up to 220 mm workpiece height reaches beyond flat sheet work.
A prototype receives its outline, openings, labels and branding in one workflow.
The established 60 W CO₂ laser for compact flat work up to roughly 610 × 305 mm: front panels, stencils, labels, models and precise engraving. The P3 expands this area but does not make the Epilog redundant. The Epilog Zing 24 runs supervised only: appointment by arrangement, material approval and fire watch included. There is no self-booking for the laser.
Supervised · material approval · fire watchMAKR-0015
For labels, textured surfaces and colour marking on suitable metals. The dual-laser version adds a diode laser for suitable non-metal materials; we confirm the installed version before the job.
Model confirmed · commissioning pending
MAKR-0016
For fine surface marking and suitable glass projects. Surface and inner-glass engraving are separate workflows with their own lens, file and preparation. Material, installed equipment and working area are confirmed before the project.
Model confirmed · commissioning pending
Model names are confirmed. Installed equipment, laser class, extraction, material rules and induction remain part of commissioning. Binding local instructions follow the approved trial.
Before the supervised appointment: name the material, provide its data sheet, dimensions and coating, and confirm the intended cutting or engraving process. Approval is specific to the actual machine and job.
For Epilog Zing 24 and the P3 CO₂ setup. Unknown compositions and coatings are excluded. This list is not a rule for UV printing or a different laser technology.
Keep offcuts easy to find and safely identifiable. Existing local storage rules still need confirmation; no automatic transfer of private property is established here.
One picture of the offcut, laid flat on the table. Nothing more is needed.
Length, width and thickness in millimetres, plus the location. Unknown thickness must be clarified before use.
Plywood, MDF, acrylic or card. That completes the offcut entry.
Use the internal material area for notes and offcuts. A listing records availability; it does not approve the material. Machine and material approval are checked with the team before the supervised job.
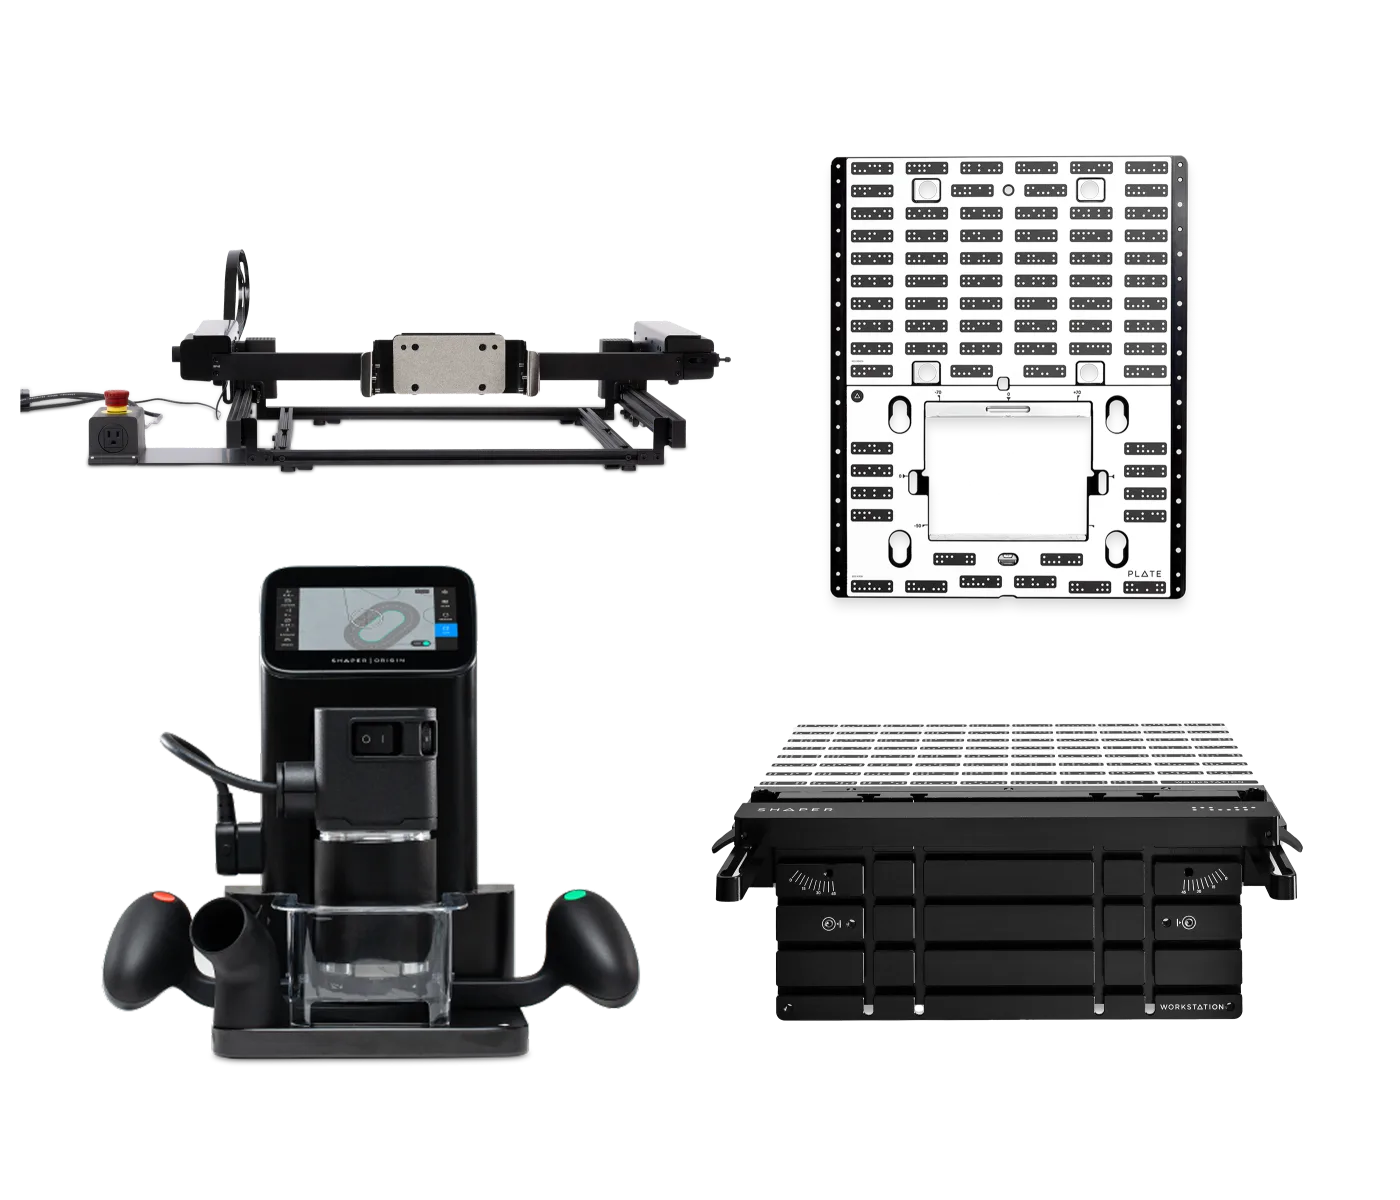
A hand-held CNC router that brings the tool to the workpiece.
Origin sees the workpiece referenced with ShaperTape, displays the cutting path and automatically corrects the user's movement. BenchPilot takes over long or repeated routing operations; Plate and Workstation provide repeatable references for hardware, edges and end grain.
The order confirmation covers much more than Origin. It forms a complete mobile CNC workplace.

Profiles, pockets, grooves, joints and accurately fitting parts directly in sheet material.
Hinges, connectors, handles and hole rows can be placed repeatedly with Plate.
Inlays, accurate patches and inserts emerge from the same digital path.
Lettering, reliefs, profiles and engraving in wood and approved sheet materials.
Stops, drilling aids and assembly fixtures for repeatable workshop processes.
Origin works where a part does not reasonably fit on a stationary CNC machine.
BenchPilot takes over repeating paths and lengthy clearing jobs.
Workstation clamps parts for tenons, slots and end machining.
Shaper Trace turns a hand-drawn outline into editable vector data.
SVG from CAD or Studio, a ShaperHub project or a physical outline captured with Trace.
Clamp the workpiece, scan ShaperTape or Plate and verify the datum.
Guide Origin by hand or use BenchPilot, cutting in controlled depth steps.
Check dimensions, fit and finish, then document the work steps.
Self booking is available only for operationally released machines and members with permission. Other processes require a confirmed supervised appointment.
Part, material, dimensions, accuracy and desired finish determine the machine.
Sign the Maker agreement and complete the required induction. The team records your device permissions.
Check machine release, your permission, reservation and status freshness in My Maker Lab; then book or request an appointment.
Inventory registration is not an operational release. Commissioning, material rules and induction remain pending for the new equipment. Use approved lab supplies; no charges are currently collected.
Confirm agreement, permission, file and material.
Book an approved machine or confirm supervised access.
Scan the material container and record real consumption.
Close the job and find it in My prints or My processes.
Two temperature-controlled soldering stations complement the digital fabrication tools: for sensors, cables, circuit boards and prototype electronics.
From breadboard to soldered circuit, from cable assembly to repair. The stations are not booked individually; once inducted, you use them during open workshop hours.
After device inductionBring the idea, file or workpiece. We will choose the right process with you and clarify material, induction and timing.
Request access →